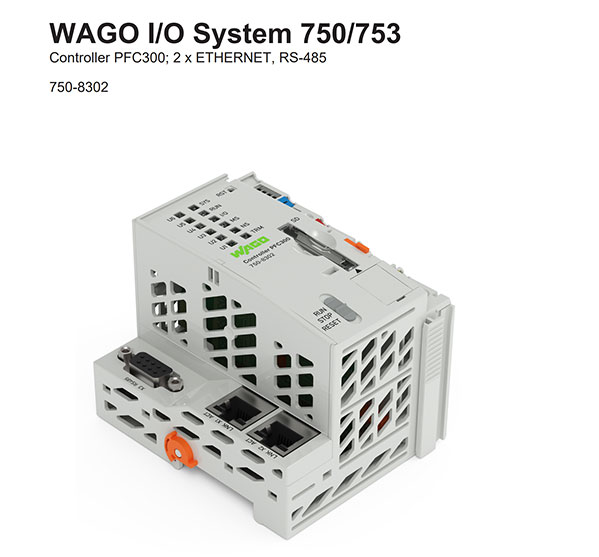
Installing PLCVisu on the PFC300
This guide explains how to install PLCVisu on a new WAGO PFC300 device. The process is identical to the CC100 and WP400 setup — only the device name and software download link differ.
1. Connect to PLC
You have three options for connecting your PC to the PFC300:
- DHCP (default mode)
- USB-C cable
- Ethernet cable – If you use this method, you must change the network settings from DHCP to a static IP.
Once connected, open your browser and access the PFC300's IP address. You should see the WAGO Web-Based Management (WBM) login screen.
Log in using:
- Username:
admin - Password:
wago
2. Upload the PLCVisu ipk-archive
After logging in to WBM:
- Open the Configuration tab in the top navigation bar.
- Select Software Uploads from the left-hand menu.
- Upload the
PLCVisu.ipkinstallation package:
→ Download PLCVisu.ipk for PFC300
Important:
Before uploading, check the box labeled "Force Install" to overwrite any previous installation.
- Click Upload
- After the upload completes, click Reboot in the top right corner.
3. Installation Complete
Your PFC300 is now running PLCVisu.
To access the editor, simply open a browser and enter the IP address you configured during setup.
PLCVisu.ipk
wago
admin


