

Installing PLCVisu on the CC100
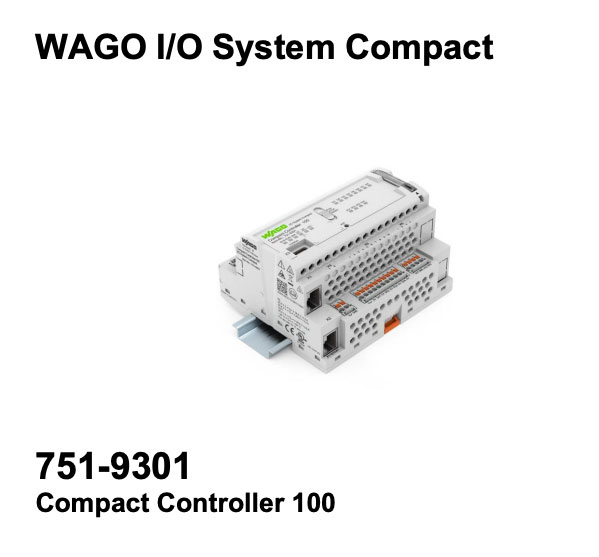
This guide explains how to install PLCVisu on all devices of the WAGO CC100 serie. The process is nearly identical to the WP400 setup, with the only difference being the device name and download link for the installation file.
1. Connect to PLC
You have three options for connecting your PC to the CC100:
- DHCP (default mode)
- USB-C cable
- Ethernet cable – If you use this method, you must change the network settings from DHCP to a static IP.
Once connected, open your browser and access the CC100's IP address. You should see the WAGO Web-Based Management (WBM) login screen.
Log in using:
- Username:
admin - Password:
wago
2. Upload the PLCVisu ipk-archive
After logging in to WBM:
- Open the Configuration tab in the top navigation bar.
- Select Software Uploads from the left-hand menu.
- Upload the
PLCVisu.ipkinstallation package:
→ Download PLCVisu.ipk for CC100
Important:
Before uploading, check the box labeled "Force Install" to overwrite any previous installation.
- Click Upload
- After the upload completes, click Reboot in the top right corner.
3. Installation Complete
Your CC100 is now running PLCVisu.
To access the editor, simply open a browser and enter the IP address you configured during setup.
PLCVisu.ipk
wago
admin